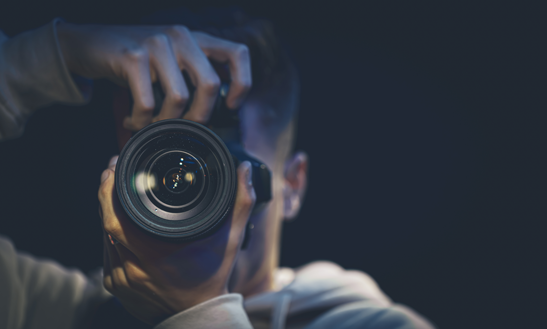
Camera Settings – What You Should Know
Camera Settings – What You Should Know
Digital cameras come with basic settings that are great for most photographers when they are starting out. As you get more experienced and want to experiment, you’ll probably want more from your camera. This means learning more about the different settings your camera offers.
The fully automatic mode, usually a green symbol, takes complete control of your camera’s settings. So it’s better to use it only for the most direct shots. Here are 10 tips to make the most of your camera settings.
* The first one we’ll look at is the “P” or Program mode. This will provide a high level of automation but still allow for some changes to the basic settings.
* Designed for situations like landscapes, close-ups, or sports, SCENE mode saves a lot of trouble, so use it if your camera has it.
* Use the highest image quality your camera offers. The RAW format provides the highest quality but takes up a lot of space. JPEG loses a bit of quality, but it’s easier to work with on a computer. You can always reduce the image size, but you can’t put in quality that wasn’t there in the first place.
* If you have it, the BRACKETING setting is useful to ensure proper exposure. This allows you to take – usually three – slightly different exposures. Hopefully one of them will be correct.
* Use the A (Aperture) priority setting to control the depth of field. This is the band of the image that is sharp. This setting allows you to set the lens aperture and let the camera control the shutter speed. A low AV will ensure a shallow depth of field. Very useful for blurring the background, for example. High AV will allow everything from the foreground to distant objects to be sharply focused.
* Setting T (time) or S (shutter) priority allows you to set the shutter speed and let the camera control the aperture. This is needed when the shutter speed is important. For example, an action shot will require a very fast shutter speed. Long exposures may be necessary for low light conditions.
* For lighting conditions, try changing the ISO setting. That’s the equivalent of film speed in old technology! Increasing the ISO will make your camera more sensitive to light, so you can use a faster shutter speed. Useful for freezing action or preventing camera shake.
* Another setting you can use is MACRO. This allows you to get really great shots of objects up close. It used to require special lenses for these photos and was beyond the reach of most amateurs. Now, all it needs is automatic camera settings.
* Set your camera to BURST or CONTINUOUS exposure and be ready to take multiple exposures in rapid succession. If the action is happening before your eyes, you don’t want to miss this crucial shot.
* The default WHITE BALANCE setting on your digital camera will be automatic, which is fine, but can sometimes make your photos look cold. When shooting landscapes or outdoor portraits, try changing the setting to cloudy. This will give a warmer and richer tone.
Familiarize yourself with the camera settings and experiment to see what effect they have. You’ll discover that your camera is more versatile than you think. Your photography will improve and become much more rewarding.


